Is your bathroom fan making strange noises or barely moving any air? A failing vent fan can lead to moisture problems, mold growth, and poor air quality in your bathroom.
Knowing how to replace your bathroom vent fan might seem intimidating, but with the right guidance, it’s a manageable DIY project for many homeowners. We’ll walk you through everything you need to know to tackle this bathroom fan installation guide successfully.
Related: Granite vs Quartz Countertops: Which Is Right for Your Kitchen Renovation?
Signs You Need a Bathroom Exhaust Fan Replacement
Excessive Noise or Vibration
A bathroom fan should run quietly in the background. If yours sounds like a small airplane taking off, something’s wrong.
Loud rattling, grinding, or humming noises usually mean the motor is wearing out or the fan blades are damaged. While you might be able to clean or lubricate some components, these sounds often signal it’s time to replace bathroom vent fan entirely.
Poor Ventilation and Lingering Moisture
Notice fog on your mirror that takes forever to clear? Or does your bathroom feel humid long after someone showers?
These are signs your fan isn’t moving enough air. Over time, motors lose power and fan blades accumulate dust and grime that reduces airflow. If steam and odors linger for more than 20 minutes after a shower, your fan probably isn’t doing its job.
Visible Damage or Outdated Design
Cracks in the housing, broken grilles, or rust around the motor are clear indicators you need a new fan. Older fans also tend to be less energy-efficient than modern models.
If your bathroom fan is more than 10 years old, upgrading to a newer model can improve ventilation while reducing energy costs. Many newer fans also include features like humidity sensors and LED lighting.
How to Replace Your Bathroom Vent Fan: Tools and Materials

Essential Tools You’ll Need
Before you start this replace vent fan DIY project, gather your tools. You’ll need a screwdriver (both flathead and Phillips), wire strippers, wire nuts, a voltage tester, and a utility knife.
A ladder or step stool is essential for reaching the ceiling safely. You might also want a drill with various bits, drywall screws, and safety glasses.
Choosing the Right Replacement Fan
Not all bathroom fans are created equal. The most important specification is CFM (cubic feet per minute), which measures how much air the fan moves.
For bathrooms up to 100 square feet, you’ll need at least 1 CFM per square foot. Larger bathrooms need more powerful fans. Also check that your new fan’s housing fits the existing opening — most standard fans fit 4-inch or 6-inch round ducts.
Safety Equipment and Precautions
Electricity and bathrooms don’t mix, so safety comes first. Always turn off the power at the circuit breaker before starting work.
Use your voltage tester to confirm the power is truly off before touching any wires. If you’re not comfortable working with electrical wiring, it’s better to call a professional than risk injury.
How to Replace Bathroom Vent Fan: Step-by-Step Installation Guide
Turn Off Power and Remove the Old Fan
Head to your electrical panel and flip the breaker that controls your bathroom fan. Test the fan switch to make sure the power is actually off.
Remove the fan cover by squeezing the mounting clips or unscrewing it. Disconnect the fan housing from the mounting bracket and carefully lower it down. You’ll see the electrical connections—disconnect the wire nuts and separate the fan wires from your home’s wiring.
Install the New Fan Housing
If your new fan is the same size as the old one, you can use the existing opening and mounting brackets. Slide the new housing into place and secure it to the ceiling joists with the provided brackets or screws.
Make sure the housing is level and firmly attached. The duct connection should line up with your existing ductwork. If sizes don’t match, you may need an adapter or some creative adjusting.
Connect Wiring and Ductwork
Following your new fan’s wiring diagram, connect the wires using wire nuts. Typically, you’ll connect black to black (hot), white to white (neutral), and green or bare copper to the ground wire.
Use foil tape or clamps to secure the duct to the fan housing. Make sure there are no gaps where air could leak. Properly sealed ductwork significantly improves ventilation efficiency.
Attach the Fan Cover and Test
Once everything is wired and connected, restore power at the breaker. Turn on the fan and listen for smooth, quiet operation.
Attach the decorative cover or grille according to the manufacturer’s instructions. Most snap into place or attach with small screws. Hold a tissue near the fan — it should be pulled toward the vent, confirming proper airflow.
Vent Fan Repair Tips vs. Full Replacement
When Cleaning and Maintenance Are Enough
Not every bathroom fan problem requires a full bathroom exhaust fan replacement. Sometimes a thorough cleaning can restore function.
Remove the cover and vacuum out dust and debris from the fan blades and motor housing. Wipe down the blades with a damp cloth. If the motor has oil ports, add a few drops of electric motor oil.
Common Repairs That Extend Fan Life
Loose mounting brackets can cause vibration and noise. Tightening screws might solve your noise problem without replacing anything.
Similarly, damaged or loose ductwork can reduce efficiency. Resealing connections with foil tape or replacing damaged duct sections costs much less than a new fan.
Why Replacement Is Often the Better Investment
If your fan is old, inefficient, or has a failing motor, replacement makes more financial sense than repair. New fans use less energy, run quieter, and ventilate better.
The cost difference between repairing an old fan and installing a new one is often minimal. Plus, a new fan typically comes with a warranty that protects your investment.
How a New Fan Can Improve Bathroom Ventilation

Prevents Mold and Mildew Growth
Proper ventilation removes moisture before it can encourage mold and mildew. These fungi love damp bathroom environments and can cause health problems while damaging your walls, ceiling, and fixtures.
A properly functioning fan pulls humid air outside, keeping surfaces dry and preventing mold from taking hold. This is especially important in Hamilton’s humid summers.
Reduces Humidity and Protects Finishes
Excess moisture damages paint, wallpaper, and wood finishes. Steam can cause paint to peel and wood to warp or rot over time.
An efficient bathroom fan removes steam quickly, protecting your renovation investment. This is especially important if you’ve recently upgraded to beautiful new finishes that you want to preserve.
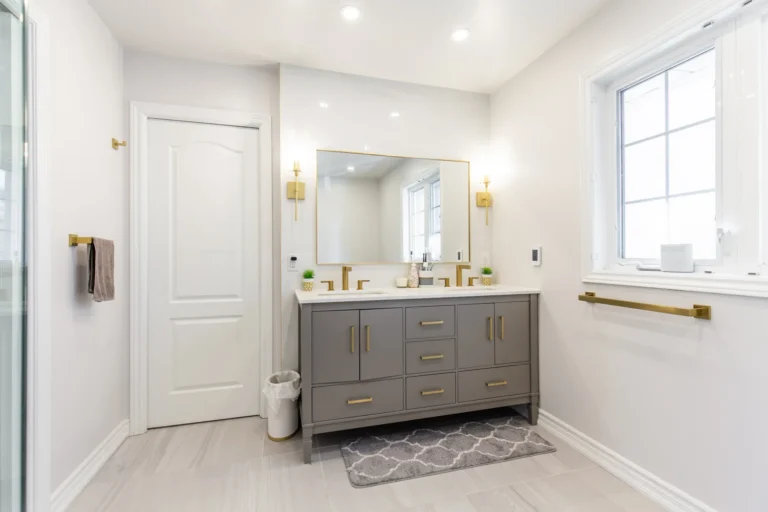
Adds Value to Your Home
Modern, quiet bathroom fans are features that potential buyers notice and appreciate. They signal that the home is well-maintained and properly ventilated.
Upgrading old, noisy fans throughout your home is an affordable improvement that contributes to overall home value. It’s a small detail that makes a big difference in daily comfort.
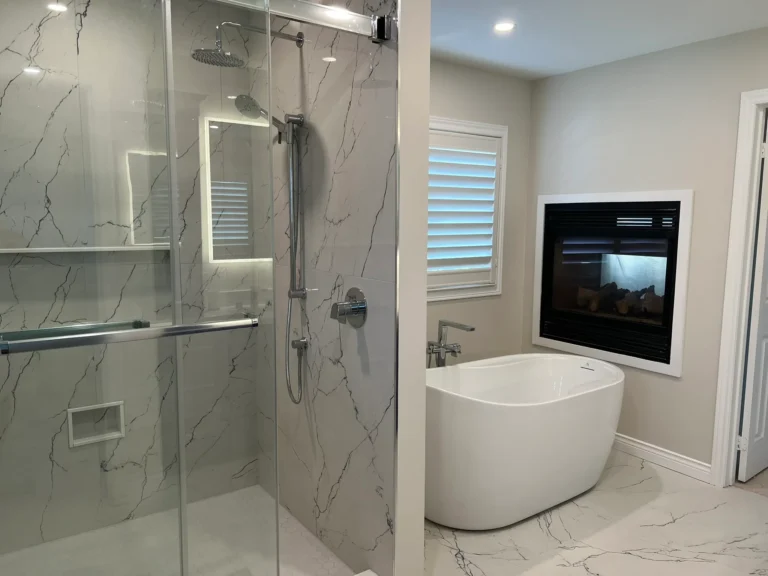
Get Expert Help From Birk Homes for Your Bathroom Renovation
While learning how to replace bathroom vent fan yourself can save money, sometimes a full bathroom renovation calls for professional expertise. If you’re upgrading fixtures, retiling, or reconfiguring your space, proper ventilation planning becomes even more important.
At Birk Homes, we handle bathroom renovations throughout Hamilton with attention to every detail. We’ll make sure your new bathroom has proper ventilation, quality fixtures, and finishes that last for years.
Whether you need a complete bathroom overhaul or want to upgrade multiple rooms for multigenerational living, our team delivers value-focused solutions tailored to your family’s needs. We’ll coordinate all the technical details so you can focus on enjoying your newly renovated space.Ready to create the bathroom you’ve always wanted? Request a quote today and let’s start planning your Hamilton renovation project together.